How to Make a Motorcycle in LEGO Fortnite (Full Guide) 2025

Building a motorcycle in LEGO Fortnite is an exciting project that combines creativity, strategic use of in-game resources, and technical know-how. As someone deeply experienced in LEGO mechanics and Fortnite gameplay, I’m here to guide you through the step-by-step process with precision and clarity.
Whether you're a seasoned builder or a novice enthusiast, mastering how to make a motorcycle in LEGO Fortnite will not only enhance your gaming experience but also give you the satisfaction of constructing a functional, stylish ride within this dynamic universe.
Motorcycles in LEGO Fortnite are unique vehicles that blend classic LEGO building principles with the innovative mechanics of Fortnite’s building system. Unlike traditional LEGO sets, this requires understanding vehicle parts, controls, and clever placement of building pieces to ensure functionality such as steering, power, and balance. Over the years, builders have developed effective techniques to optimize motorcycle builds—something I’ve tested extensively to ensure reliability and ease of replication.
This comprehensive guide will walk you through everything—from gathering the necessary parts and setting the foundational structure, to adding wheels, engines, and custom details that personalize your bike. Along the way, I’ll share advanced tips like directional building, part alignment, and power management to prevent common pitfalls that can hamper your build’s performance. By the end, you’ll have a motorcycle that not only looks great but drives smoothly, allowing you to perform thrilling stunts or simply cruise through your Lego Fortnite maps with confidence and style.
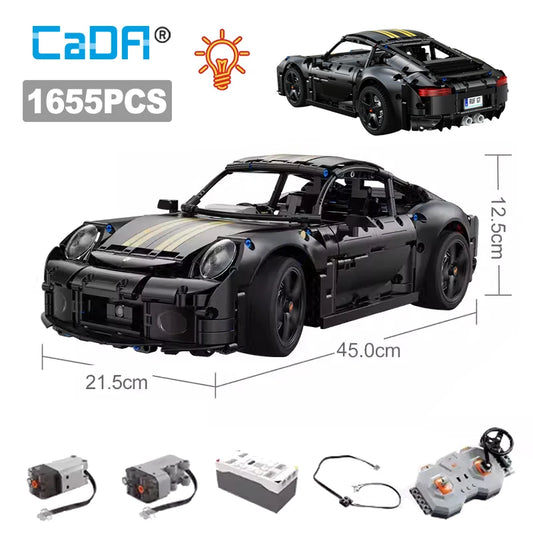
CADA BRICKS® Best Sellers - SHOP NOW

Understanding the Basics of LEGO Fortnite Motorcycles
Before diving into the build, it’s crucial to grasp the foundational elements involved in creating a motorcycle in LEGO Fortnite:
- Vehicle Parts: These include floor pieces, handlebars, engines, wheels (powered and steerable), and fenders, all of which interact differently depending on placement and alignment.
- Directional Building: This technique involves orienting your build pieces so they face the correct way, which is critical for steering and acceleration functionality.
- Power and Steering Mechanics: Choosing the right wheels and engines ensures your motorcycle has the right balance of speed and control.
Knowing these fundamentals sets a solid groundwork for a successful build and prevents frustrating mistakes.
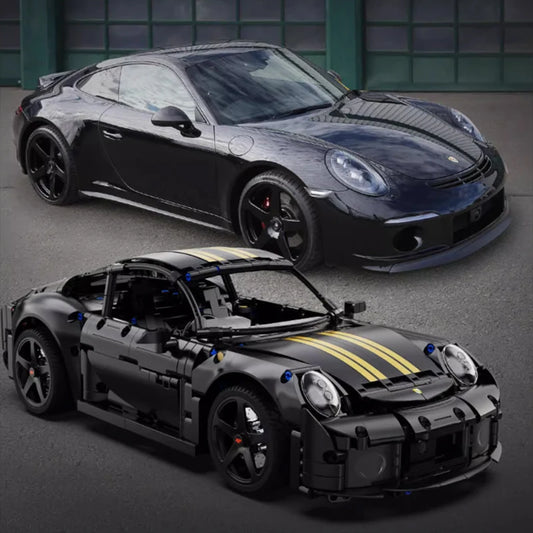
CADA BRICKS® Supercars - SHOP NOW

CADA BRICKS® Best Sellers | CADA BRICKS® Supercars & Racing Cars | CADA BRICKS® Trucks & Construction | CADA BRICKS® Military & Weapons | CADA BRICKS® Initial D
Step 1: Preparing Your Building Materials and Workspace
Start by opening the Toys Menu in LEGO Fortnite and navigating to the Vehicle Parts section. Here you will find essential pieces like:
- Floor Pieces (thin floors, large floors, etc.)
- Engines (small and large Power Centers)
- Wheels (powered wheels for movement and steerable wheels for direction)
- Handlebars (for steering)
- Fenders (to cover wheels and add aesthetic detail)
Having all these parts readily available before starting accelerates the build process.
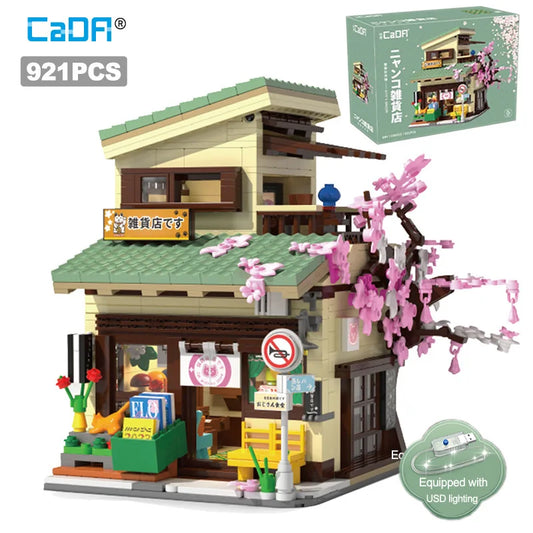
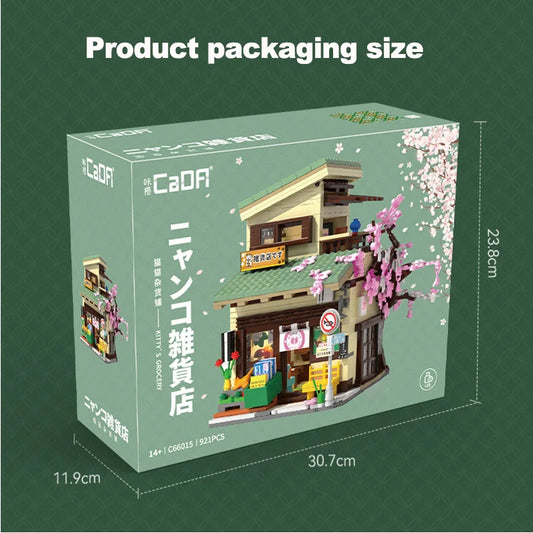
CADA BRICKS® City Landmarks - SHOP NOW

CADA BRICKS® Licensed Cars | CADA BRICKS® Classic Cars | CADA BRICKS® Motorcycles & Bikes | CADA BRICKS® Off-Road & 4x4 | CADA BRICKS® Emergency Vehicles
Step 2: Constructing the Motorcycle Base
The motorcycle base is the backbone of your build. I recommend placing three thin floor pieces side by side. On these, position wood or any sturdy foundation blocks to establish the base frame. Here, the directional building technique comes into play: use thrusters or similarly small pieces to allow vertical or angled placement of floor panels, which gives your bike its structural integrity and unique shape.
Align the base so it is centered and stable, ensuring your crosshair snaps pieces exactly in place—this prevents uneven builds that can cause instability during use.
CADA BRICKS® Technic Sets - SHOP NOW

CADA BRICKS® Japanese Street | CADA BRICKS® City & Landmark | CADA BRICKS® Science & Educational | CADA BRICKS® Technic | CADA BRICKS® Modern Architecture
Step 3: Adding the Engine and Power Components
The engine powers your motorcycle. Use a large Power Center to maximize speed and torque. Place this snugly in the middle of your base, connecting it to the floor pieces for stability.
Make sure the engine's direction matches the expected forward movement. You can test this by observing the wheel direction after placement (more on that next). Incorrect engine orientation can cause the bike to move backward or stall.
Step 4: Installing Wheels with Correct Alignment
Wheels are critical for both movement and steering. You will use:
-
Powered Wheels on one side to provide traction and speed.
-
Steerable Wheels on the other side for turning ability.
Place thin floor pieces or similar supports over the fender areas to mount your wheels. It's important to align powered wheels and steerable wheels opposite each other for balance. Check that the wheels are facing the right direction: a common error is installing a powered wheel backward, which reverses movement controls.
A useful tip: Hit the game’s 'E' button or appropriate control toggle to check and adjust wheel orientations, ensuring your motorcycle drives forward properly.
Step 5: Adding Handlebars and Seating
Place handlebars in front of the seat area. Avoid using a steering wheel; motorcycles are controlled by handlebars, which also add realistic aesthetics. Position these carefully so they sync with the steerable wheels for smooth turning.
The seat piece should be centered directly above the engine area to maintain balance. If you want to customize, adding balloons or small decorative pieces can enhance stability and style but keep these additions functional.
Step 6: Attaching Fenders and Final Details
Fenders cover the wheels and can be stacked using floor panels layered incrementally to extend length and form. This not only improves look but also helps protect your build during bumps.
Use the "drag and snap" technique for quick placement: line a piece up with a reference block, then pull it through adjacent spaces to ensure perfect alignment across multiple sections.
Finish your motorcycle by adding lights, decorations, or even balloons to add character and balance. You can also experiment with color schemes that suit your personal style or thematic preference in the game.
CADA BRICKS® Display & Collectibles - SHOP NOW

CADA BRICKS® Castle Building Blocks | CADA BRICKS® City Building | CADA BRICKS® Remote Control | CADA BRICKS® Display & Collectibles | CADA BRICKS® Anime & Pop Culture
Tips to Optimize Your LEGO Fortnite Motorcycle Build
- Check Wheel Types: Differentiate between powered and steerable wheels to avoid malfunction.
- Use Directional Building: Apply thrusters or special pieces to create angled supports for unique shapes.
- Test Ride Often: After each major step, test your build to confirm wheels turn and engines respond properly.
- Balance Weight: Keep heavy parts like engines central to avoid tipping.
- Customize Smartly: Decorations should not interfere with the basic function of your motorcycle.
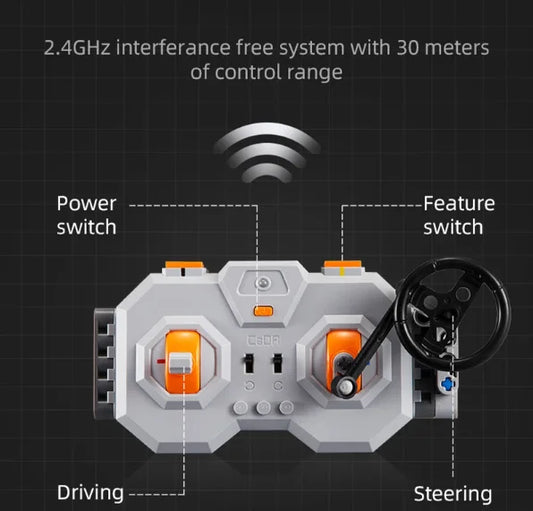
CADA BRICKS® Remote Control Sets - SHOP NOW

CADA BRICKS® Mechanical Engineering Building Blocks | CADA BRICKS® Kids Building Blocks | CADA BRICKS® Teens Building Blocks | CADA BRICKS® Adult Building Blocks
Troubleshooting Common Issues
- Bike Moves Backwards: Check wheel orientation and engine placement.
- Wheels Not Turning: Verify you have steerable wheels on one side.
- Bike Tipping Over: Adjust the seat and engine placement for better center of gravity.
- Parts Not Snapping: Use the snapping grid carefully, and nudge pieces with the game’s fine control options.
Building a motorcycle in LEGO Fortnite is a rewarding challenge that combines art and mechanics. With this detailed guide, your next LEGO Fortnite build will be both visually stunning and mechanically sound—ready for action-packed gameplay. Enjoy the process, experiment with design tweaks, and soon you’ll be cruising in virtual style on a motorcycle that’s truly your own creation.